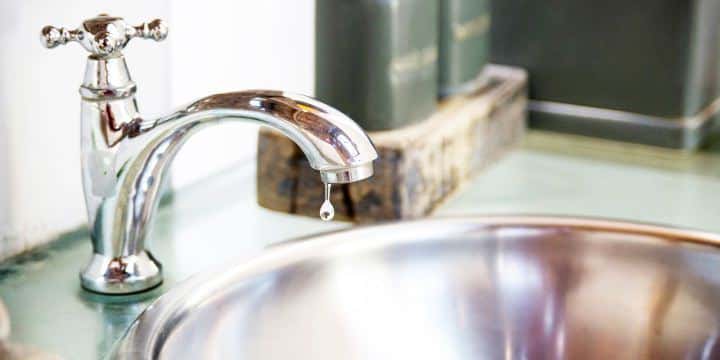
That Leaky Faucet Isn’t Going to Fix Itself (But You Might Be Able To)
We’ve all been there—lying in bed, staring at the ceiling, wondering if that drip… drip… drip is going to drive us over the edge by morning. You tell yourself you’ll deal with it tomorrow. Then tomorrow turns into next week, and the next thing you know, your water bill’s creeping up and you’re plotting revenge against a bathroom fixture.
Here’s the thing: fixing a leaky faucet isn’t some mysterious skill reserved for plumbers and YouTube legends. In a lot of cases, it’s totally doable. No special training required—just a little patience, some basic tools, and a willingness to turn off the water before you make a mess.
First off, yeah—turn off the water. Seems obvious, but you’d be amazed how many people skip this part. There should be little shut-off valves under your sink. Twist ‘em off. If they’re not there or don’t work, cut the water to the whole house. Test the faucet to make sure it’s dry before you do anything else.
Once the water’s off, it’s time to start taking things apart. Grab a flathead or a Phillips, depending on the screw. There’s usually a little cap on top of the handle—pop that off and unscrew it. Beneath that, you’ll find a stem, and that’s where the guts of the problem live.
Now, be gentle here. Use an adjustable wrench, loosen the nut, and slowly pull the stem out. If things are stuck, don’t force it—just wiggle and talk to it nicely. Lay everything out in the order you take it apart. Trust me, you’ll thank yourself later when you’re putting it back together and can’t remember what goes where.
What you’re looking for is the washer at the bottom of the stem. If it’s worn down, cracked, or looks like it’s been through a few too many Monday mornings—that’s probably your culprit. O-rings too. Take the old parts to the hardware store, find exact matches, and pick up some plumber’s tape while you’re at it.
While everything’s apart, give the valve seat a quick look too (that’s the part inside the faucet body). Run your finger along the opening. If it feels rough or pitted, it might be worth smoothing out—or if it’s too far gone, replacing altogether.
When you’re ready to reassemble, go slow. Use the plumber’s tape on the threads. Hand-tighten everything at first, then give it a snug finish with your wrench. Don’t overtighten—this isn’t a wrestling match.
Turn the water back on slowly. Let the air out. Then… wait. Is it still dripping? Or did you just save yourself a service call?
If it’s fixed, congrats—you win the day. If not, don’t sweat it. Some leaks are trickier than they look, and there’s no shame in calling in reinforcements.
That’s where we come in.
If the drip keeps dripping or something feels off, give us a ring at My Georgia Plumber: 770-592-0081. We’ll get it sorted without turning it into a whole production.
But hey—at least you tried. And that’s more than most people can say.


